Introduction
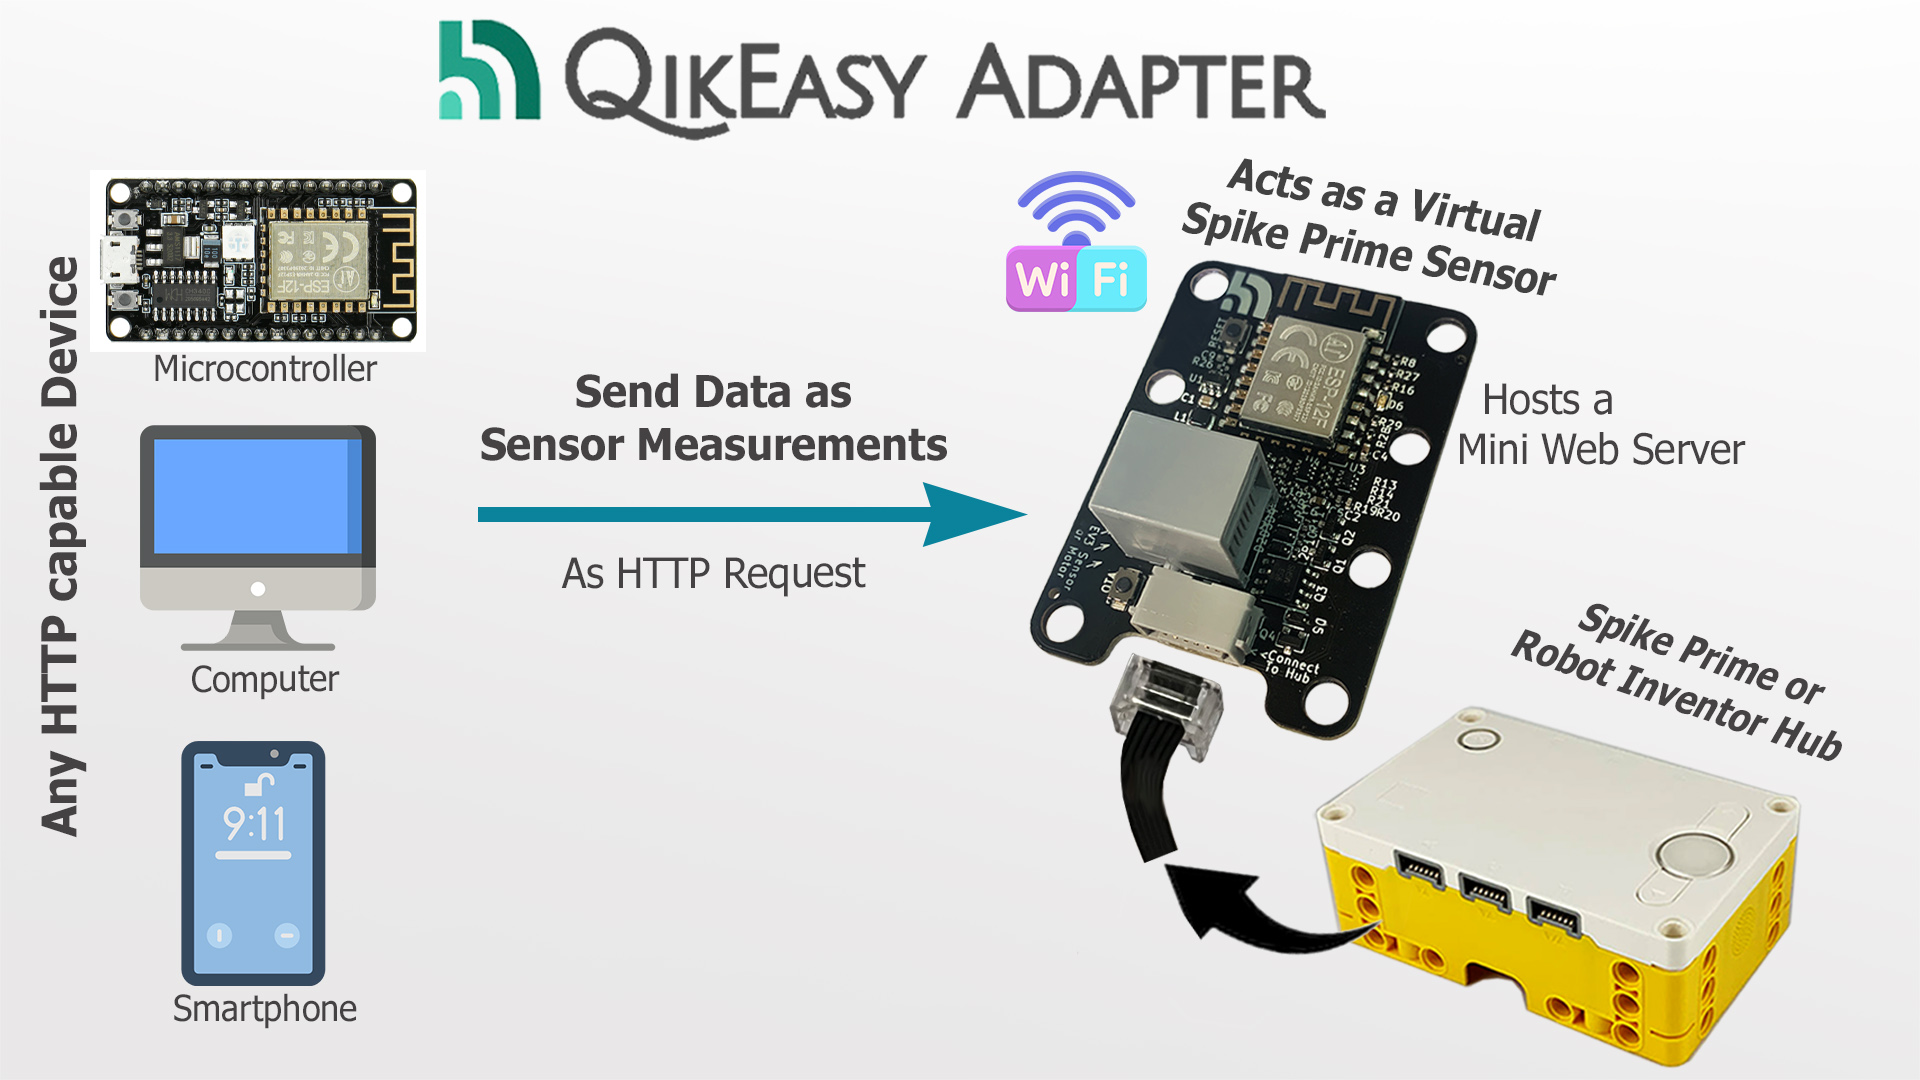
QikEasy Adapter’s Virtual Wireless Sensor functionality allows your LEGO robotic hub to wirelessly receive measurement data from other devices.

QikEasy Adapter’s Virtual Wireless Sensor functionality allows your LEGO robotic hub to wirelessly receive measurement data from other devices.
There are many potential uses of the QikEasy Virtual Wireless Sensor. Here are a few common use cases:
Integrate with sensors that not supported by LEGO
QikEasy’s Virtual Wireless Sensor’s open interface makes Spike Prime accessible by developers and DIYers for developing custom devices that wouldn’t be supported by the LEGO Spike Prime or Robot Inventor hub. Using a Wifi enabled microcontroller (such as ESP8266 or the Raspberry Pi Pico), you can easily integrate LEGO with devices like real time clock, temperature sensor, humidity sensor and any other device you can think of.
Sensor Data collection remote from your LEGO robot
Instead of installing the custom sensor on the robot, with QikEasy Virtual Sensor’s Wifi capability, it is now possible to install the sensor device some distance away from the hub, as long as your custom device is able to access the same wifi network as QikEasy Adapter. Your custom hardware would periodically send measurement updates to our Virtual Sensor device through HTTP over Wifi. This enables your LEGO to collect data wirelessly from devices such as ultrasonic distance sensor, color sensor, real time clock, temperature sensor, humidity sensor, etc. The possibilities are limitless.
Wirelessly Control your LEGO Robot
The data sent to QikEasy Virtual Wireless Sensor do not need to be actually sensor measurement data. They can be input control values for your robot. The remote could be a custom built device, or even a computer. The device may either controlling your robot autonomously or may be controlled by you manually.
QikEasy Adapter’s Virtual Wireless Sensor functionality allows you to wirelessly send measurement data from a custom device to the LEGO hub through HTTP GET requests.
By default, the virtual wireless sensor would appear as a Color sensor. You may easily change it to another sensor type by a URL such as the following:
http://192.168.0.128/set?t=d&d=1500
This request would turn QikEasy adapter into a Spike Prime Distance sensor with a raw distance value of 1500 (or real world distance of 150cm).
QikEasy Adapter supports these emulated Virtual Devices:
Below is a brief overview of steps involved in setting up your QikEasy Adapter as a Virtual Wireless Sensor:
See below for more detailed instructions on each step.
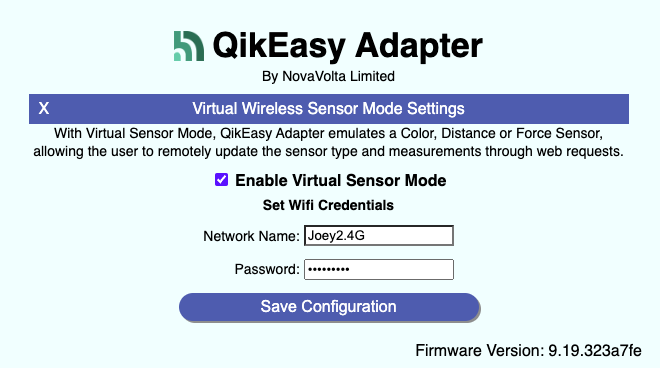
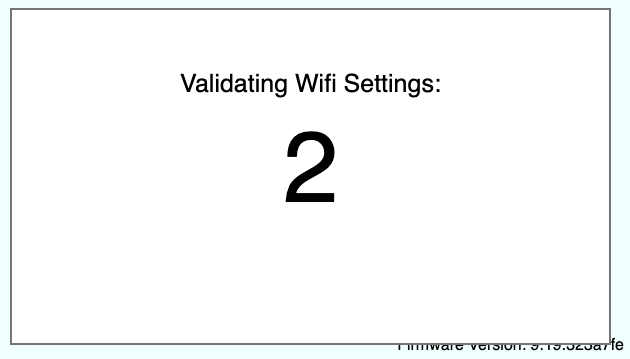
Before configuring your virtual sensor, you must first set your QikEasy Adapter into Setup mode.
Go to this page for detailed instructions on how to get into Setup Mode.
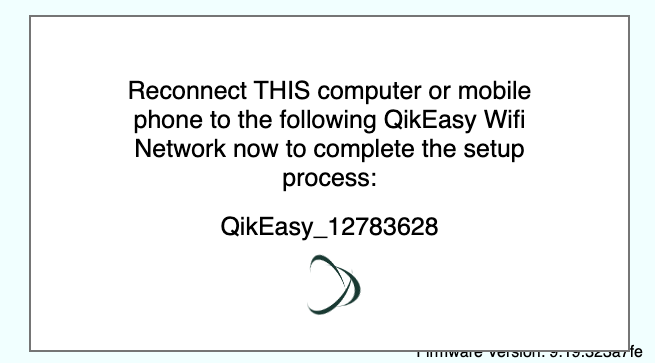
In order for other devices to wireless send data to QikEasy Adapter, it must establish a connection to your local Wifi network. Therefore, part of the configuration procedure is to select the Wifi network and set the password for it.
Here’s the tutorial video for how to setup the QikEasy Virtual Wireless Sensor:
As mentioned above, you will need to know this QikEasy Virtual Wireless Sensor’s IP address in order to be able to set its measurement data values remotely. There are a couple possible ways to determine this IP address.
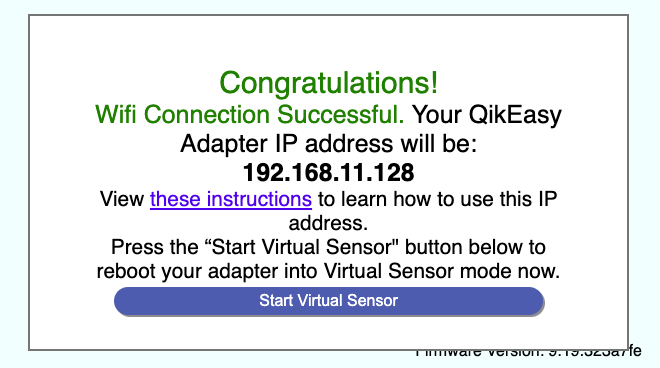
Method 1: The Virtual Sensor Setup Process
As above, at the end of the initial Virtual Sensor setup process, our web user interface will display the virtual sensor’s IP address.
Method 2: Through a Word Block program
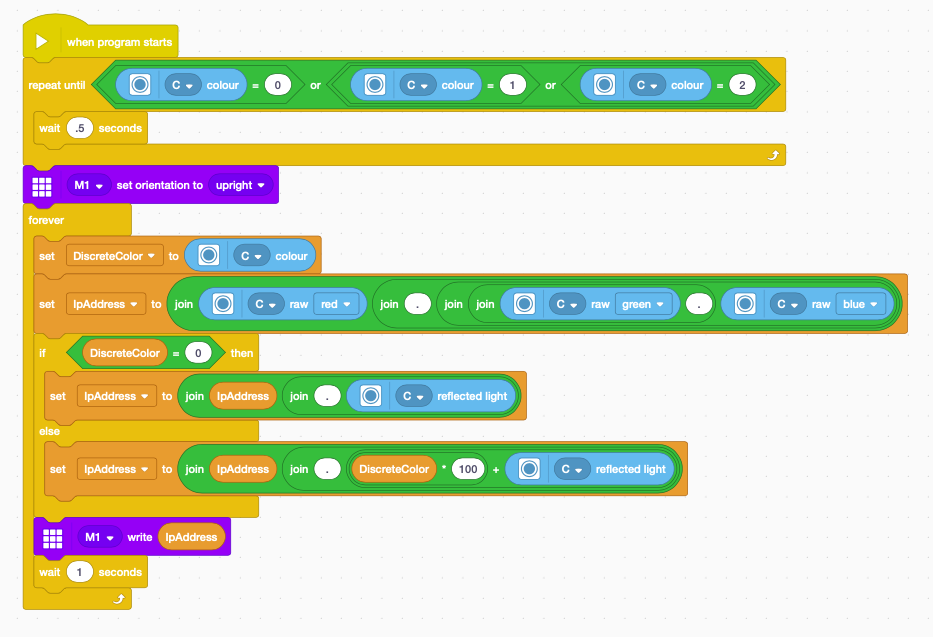
Every time upon bootup of the Virtual Wireless Sensor, the device will start in virtual Color Sensor mode, and will preset its measurements based on the IP address. It is possible to use a Word Block program to read these measurements and display the IP address on your Spike Prime hub.
For example, when the IP address is 123.0.1.45, the color sensor measurements will be set as in this table:
| Measurement | Value | Description |
| Red (Ranges from 0 to 1024) | 123 | First IP address number |
| Green (Range from 0 to 1024) | 0 x 1024 / 255 | Second IP address number |
| Blue value (Range from 0 to 1024) | 1 x 1024 / 255 | Third IP address number |
| Color (discrete color. Ranges from -1 to 10) | 1 x 1024 / 255 | The hundreds digit of the 4th IP address number |
| Reflected Light (Ranges from 0 to 100) | 45 | The tens and units digits of the 4th IP address number |
We recommend that you use a program to display the IP address. You should run this program immediately after you start your hub that has the Virtual Sensor connected. You may store this program into one of the hub’s storage positions so that you may run the program any time you need it.
The following is the Word Block program for Spike Prime 3.0. Make sure you remember to change the Port numbers for all the blue blocks to the port that your QikEasy Adapter is connected to.
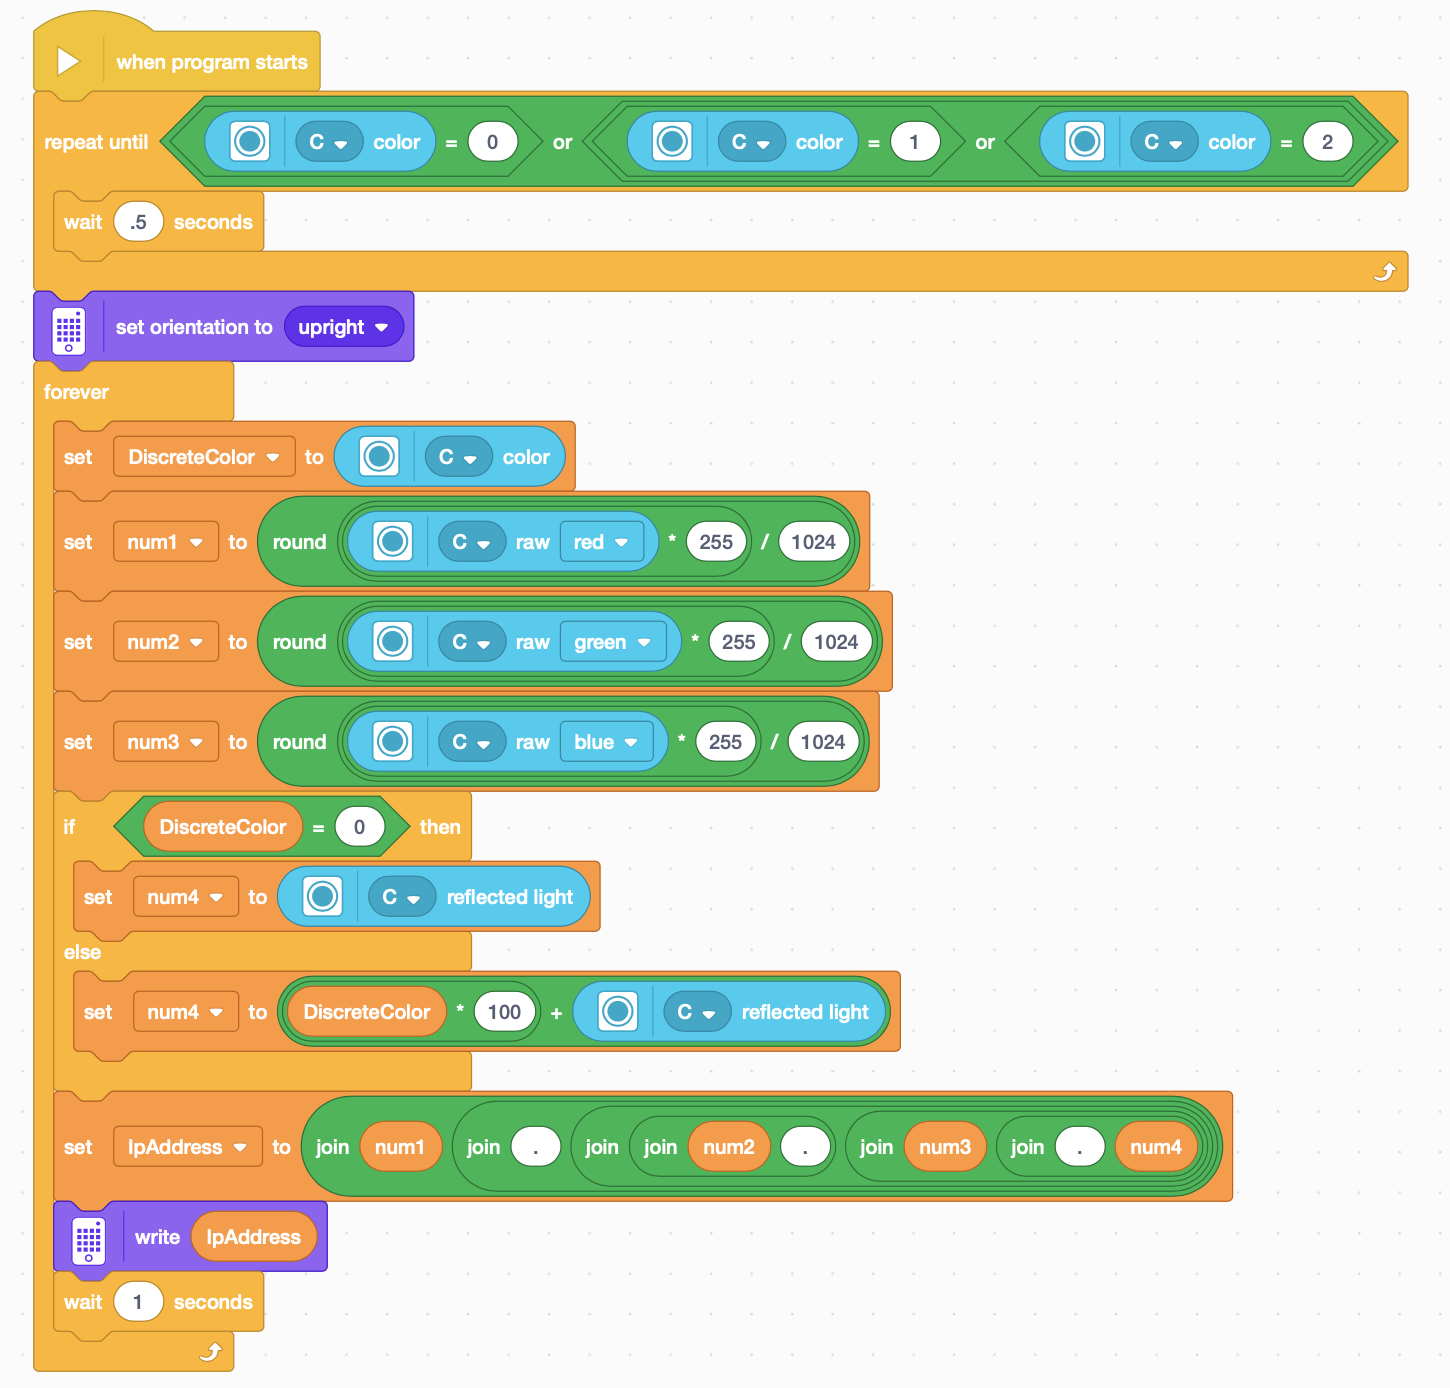
The following is the Word Block program for Spike Prime 2.0 and Robot Inventor. The difference is mainly due to the fact that Spike Prime 3.0 interprets RGB as 0 to 1024, while the other systems interpret them as 0 to 255. Make sure you remember to change the Port numbers for all the blue blocks to the port that your QikEasy Adapter is connected to.
In most cases, restarting your QikEasy Virtual Sensor within a short period of time will result in your Wifi router assigning it the same IP address as before. However, if you attempt to restart it after several hours or days, your QikEasy adapter will likely be assigned a different IP address. The IP address assignment behavior solely depends on the design of your Wifi router.
Especially for long term usage, in many scenarios, it would be useful to ensure that your Virtual Sensor’s assigned IP address always stay the same. This would allow the remote client that sends data updates to always use the same IP address to send updates.
To ensure that your QikEasy Virtual Sensor always gets the same IP address from your Wifi router, you can use a technique called IP address reservation, also known as DHCP reservation or static DHCP. This technique involves configuring the Wifi router to reserve a specific IP address for a particular Wifi client, based on its MAC address.
Here are the steps to set up IP address reservation on most Wifi routers:
Once you have set up IP address reservation on your Wifi router, the designated Wifi client will always receive the same IP address every time it connects to the network, as long as the router is configured properly and the reserved IP address is not in use by another device.
You may refer to this web page for more details on how to setup IP address reservation.
You may change the virtual sensor type and update the measurement values of your QikEasy Virtual Sensor through HTTP requests from any web capable device that can connect to your local network.
Request URL Format
All requests to update the Virtual Sensor are HTTP GET requests. Below is the general format for the requests:
http://<Virtual Sensor's IP address>/set?t=<sensor type>&<measurement value updates>
The parameter t can accept these values:
| Parameter | Description |
| c | Set Virtual Sensor Type to Color Sensor |
| d | Set Virtual Sensor Type to Distance Sensor |
| f | Set Virtual Sensor Type to Force Sensor |
| i | Reset the Virtual Sensor to initial state with its IP address |
The specific measurement values that can be set through HTTP request varies depending on the Virtual Sensor’s current sensor type. Below are description of the measurements available for each specific virtual sensor type.
Color Sensor
| Parameter | Range | Description |
| d | -1 to 10 | Discrete Color. Note: At bootup, this value is initialized to 3 until the device gets an IP address after Wifi gets connected. |
| r | 0 to 1024 | Red in RGB. Note: At bootup, this value is initialized to 2000 until the device gets an IP address after Wifi gets connected. |
| g | 0 to 1024 | Green in RGB. |
| b | 0 to 1024 | Blue in RGB. |
| R | 0 to 1024 | Reflective light. |
| a | 0 to 100 | Ambient light. |
Note:
Distance Sensor
| Parameter | Range | Description |
| d | 0 to 2500 | Distance. |
Note:
Force Sensor
| Parameter | Range | Description |
| f | 0 to 100 | Force. |
Note:
Examples
The following are some valid example HTTP requests (where the IP address of the QikEasy Virtual Sensor is 192.168.11.231):
http://192.168.11.231/set?t=c&d=3&r=200&g=200&b=200&R=a
This request would configure the QikEasy Virtual Sensor as a Color Sensor with RGB value of {200, 200, 200}, Discrete Color value of 3, and Reflective Light value being calculated based on the aforementioned RGB value.
http://192.168.11.231/set?t=d&d=1900
This request would configure the QikEasy Virtual Sensor as a Distance Sensor with a distance of 190cm.
http://192.168.11.231/set?t=f&f=80
This request would configure the QikEasy Virtual Sensor as a Force Sensor with a force of 8 Newton.
http://192.168.11.231/set?t=i
This request would reset the QikEasy Virtual Sensor to a Color Sensor with initial measurement values set for its IP address.
QikEasy Adapter’s Virtual Sensor functionality enables LEGO makers to build projects that were never possible before. Below are a few examples. The projects you can build is only limited by your imagination.
Control your LEGO Robot with Amazon Alexa voice assistant
Click here to learn how to control your Robot through Alexa or other voice assistant using IFTTT.
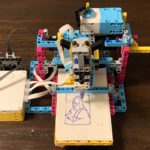
Drawing Mona Lisa on this LEGO Spike Prime Plotter
Click here to learn how to build this nifty plotter solely from LEGO hardware.
LEGO Smart Switch with Voice Assistant & Smartphone Control
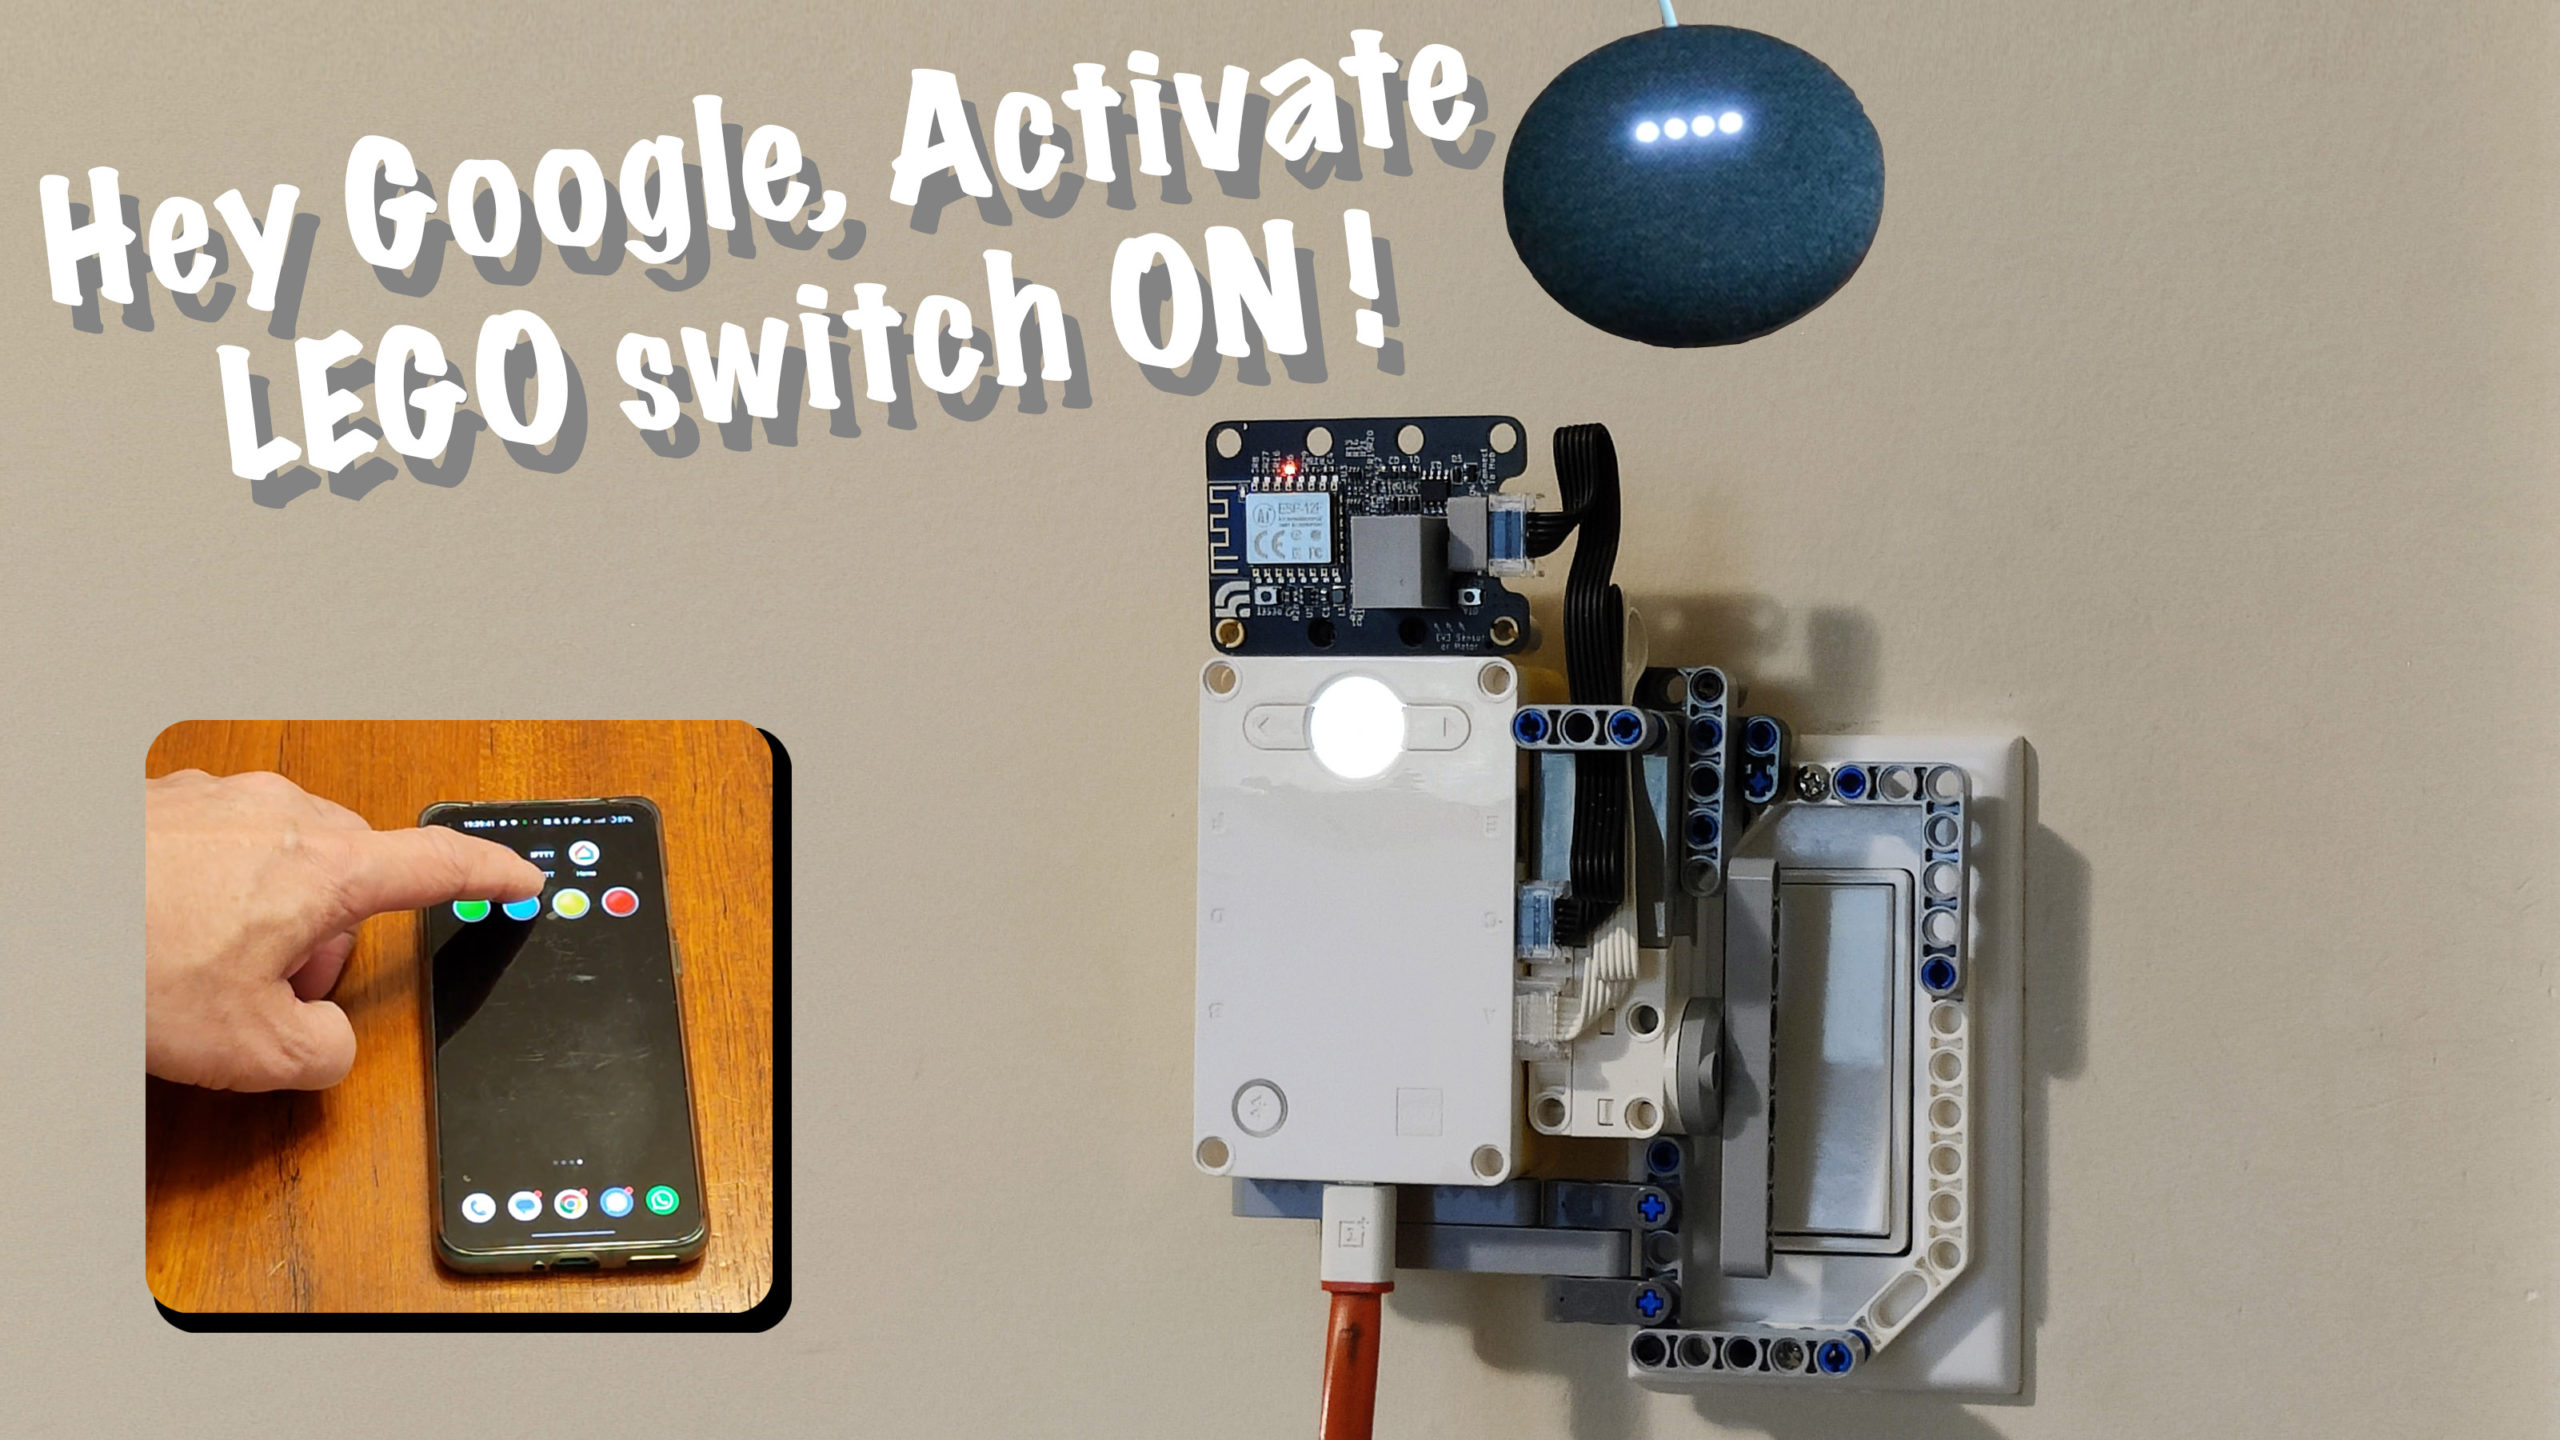
Click here to learn how you can use Spike Prime system to control your light switch in a smart home environment.
A Product Identifying & Sorting Robot via Bar Code Scanning

Click here to learn how you can use your mobile phone to scan the barcode of a product, and move it to a designated location based on the code.
A High Precision Internet Clock
Click here to learn how you can build a highly accurate clock based on Internet time protocol (NTP).
A Custom build Remote Control for a LEGO Race Car

Click Here to learn how to implement this custom remote control.
We are always exploring new use cases for this exciting capability. We encourage you to email us with your ideas at info@novavolta.com. If we like your ideas, we may actually implement the ideas, and present videos and articles on them.
Can your virtual sensor be used over the internet?
Yes, it is possible. But, you will have to setup Port Forwarding on your Internet router so that internet traffic can be port forwarded to your QikEasy Virtual Sensor device. You may easily google and find tutorials on how to port forwarding on your specific brand of router.
Why is my virtual sensor not working at all?
It is most likely due to one of these reasons: